By Xander Mol, xander@xandermol.com
Introduction
As a child I was lucky enough to have access, through my father, to most of the 8-bit computers that appeared in the 1980s — he sold them in his shops at the time, and naturally everything had to be tested before it went on the shelves. So from an early age I always worked with many different computers, particularly the Commodore 64, ZX Spectrum, TI-99/4a and Oric Atmos, and later the Commodore 128D.
My father never sold Acorn computers (I honestly have no idea why), but ever since the Acorn Archimedes A310 was introduced in 1987 I had always wanted one.
About seven years ago I retrieved my old Commodore 128D and ZX Spectrum 128 'Toastrack' from my parents' attic, and the love affair quickly rekindled. I rapidly built up a collection of all the computers I used as a child, and in March 2025 I finally managed to buy that Acorn Archimedes A310.
Of course I still needed to connect all those computers to a modern display — ideally via HDMI, because I also wanted to record footage of real hardware for YouTube and similar. Hence my ongoing search for ever better ways to get a picture out of these old machines and into HDMI. Since I have now tried quite a few options, here is an account of that journey.
Note: as mentioned, I have relatively little experience with Acorn machines but plenty with many other platforms. I think the options I have tried are largely relevant for Acorn enthusiasts too.
Step 1: SCART to HDMI
Most retro computer systems can connect via SCART, provided you buy the right cable for the machine. For almost all of my computers I have a cable that carries an RGB or S-Video signal over SCART.
That works fine with my old Sony Trinitron CRT, but modern monitors and TVs have not had SCART for years. So I went looking for a SCART-to-HDMI converter. A quick search online revealed that many cheap Chinese converters do not properly support RGB or S-Video over SCART, resulting in no picture at all or a very poor one. Worth watching out for!
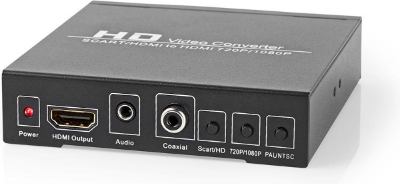
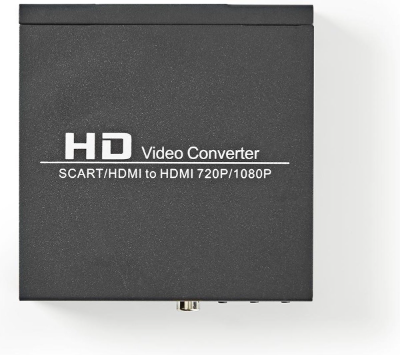
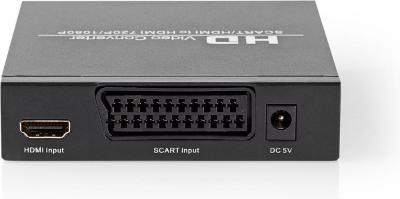
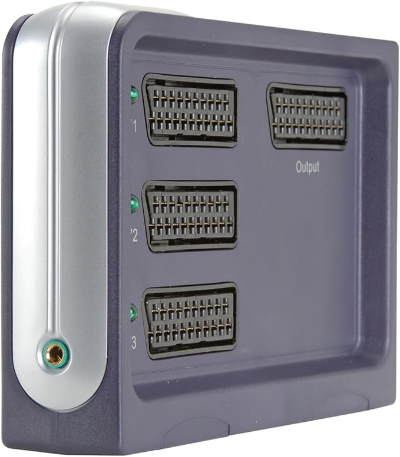
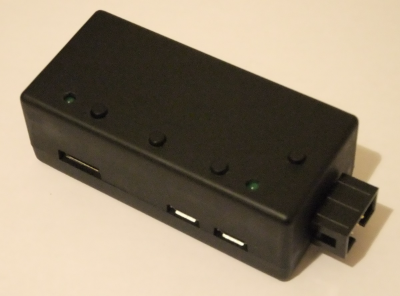
What a lot of retro users end up with is a generic Chinese converter that is sold under many different brand names but always looks the same. In my case I ordered one via Bol.com: see this link.
Photos of the device:
It works, but I quickly ran into the On Screen Display that this device always shows on startup, which also reappears with every resolution change and cannot be turned off (shown here while running the Commodore 128D in 80-column mode):
This drove me absolutely mad, because it looks rather unprofessional when recording for YouTube. Worse, the OSD message reappears with every frequency change — which happens quite often during a Commodore 128 demo in 80-column mode — and thoroughly ruins a recording. So that was not the one.
Interlude: SCART Switch
Another annoyance is having to constantly replug cables whenever you want the signal from a different computer. So I quickly went looking for a SCART switch. The same caveat applies here as for the converter: many are sold, but very few properly support S-Video and/or RGB.
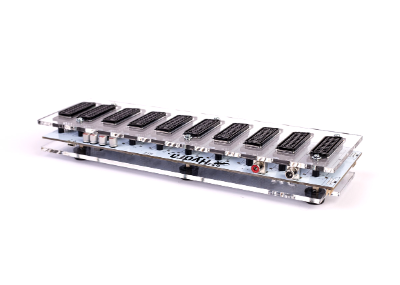
After searching and finding many recommendations for Bandridge SCART switches, I eventually bought this one.
Works fine for three devices connected to a single display — a good choice if you can still find one, as they are hard to come by.
The problem I quickly ran into, however, was that I wanted to connect my CRT TV and a video capture device simultaneously, so I needed a switch that could output to two SCART outputs at the same time. My search eventually led me to the Lotharek Hydra 2 Revised. Works brilliantly!
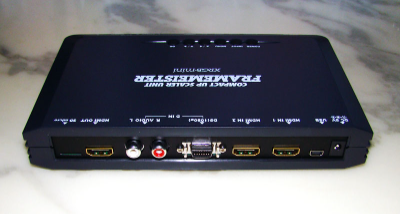
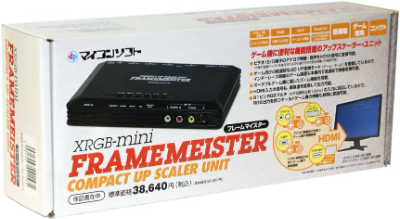
Step 2: Framemeister
Still not entirely happy with the quality of the Chinese converter, cheap as it was. And then I happened to stumble across a Framemeister xRGB Mini at a bargain price on Marktplaats.
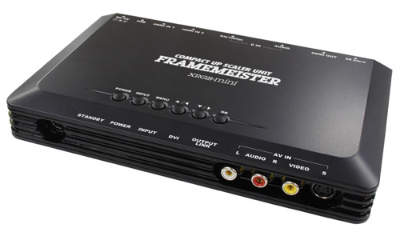
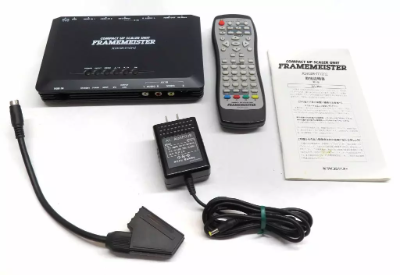
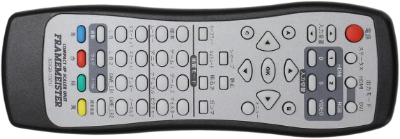
First impression: help, it's all Japanese! Manual in Japanese, remote in Japanese, menus in Japanese. Fortunately there is plenty to be found online: an English translation of the manual, instructions for switching the system language to English, and even stickers available to put English labels on the remote. So I did all of that.
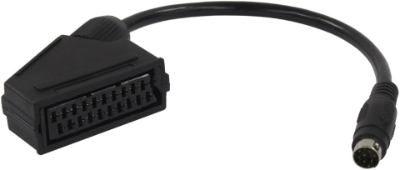
One important note: to connect SCART devices you absolutely need the SCART adapter cable to mini-DIN. It is not included in the box, and without it you cannot connect a SCART cable at all.
But once connected: great picture! See this video on my YouTube channel of the first recording made with the Framemeister.
The downside of the Framemeister: it is hard to find because it is no longer manufactured, and expensive. It is still popular, but you have to get lucky as I did. For that reason I can no longer recommend it — there are more readily available modern alternatives, more on those later.
Step 3: RGBtoHDMI
Broadly happy with my Framemeister, I kept following the forums and Facebook groups, and something that quickly generated a lot of excitement was a new project: RGBtoHDMI. See the GitHub Wiki page of the project.
As that page describes it: 'The RGBtoHDMI interface converts the "digital" RGB video signal from vintage computers like the BBC Micro or PC MDA/CGA/EGA to HDMI or DVI compatible with most modern TVs/Monitors. The interface comprises a Raspberry Pi Zero and a specially designed Hat containing a small CPLD. Custom firmware on the Raspberry Pi, in conjunction with the CPLD, is able to correctly sample each of the supported video modes to give a pixel-perfect rendition. The HDMI output is locked to the input so there are no frame drops, repeats or tears and it also has low lag of around 4 milliseconds (less than a quarter of a frame).'

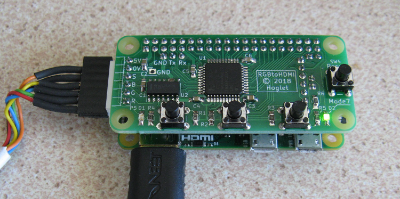
The project started out converting the BBC Micro's signal, but quickly expanded to support many more computers. I was particularly interested in the version that could handle the Commodore 128's 80-column mode.
There are many sellers of RGBtoHDMI online in various configurations with connectors suited to different computers. I now own two RGBtoHDMI units for my two Commodore 128D machines, and one for my Oric Atmos.
I was immediately impressed by the picture quality: it is superb. Because the digital RGB signal is converted directly, there is virtually no signal loss and the image is extremely sharp. Even too sharp for the purists, but I love it.
The BBC Micro version is sold, among other places, here (though I have no personal experience with the BBC Micro).
Examples of captures with the RGBtoHDMI on my YouTube channel:
- On the Commodore 128: https://youtu.be/kuJFZY3Dl38 (compare with the Framemeister version)
- Oric Atmos: https://youtu.be/gaoZL4kd1ww (compare with the Framemeister version)
The RGBtoHDMI is not cheap, especially since you need a Raspberry Pi Zero, a hat, and a case.
Alternative: RetroTink
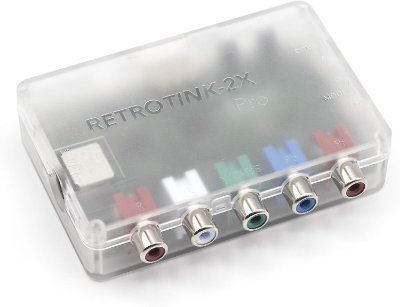
Another well-known brand in the retro upscaler world is RetroTink.
I only have personal experience with the RetroTink 2X Pro: it is ideal for connecting computers via composite or mini-S-Video. For me it is therefore perfect for my Commodore 64, Commodore Plus/4, Atari 2600 with composite AV mod, and Atari 800XL. Gives a great picture with good options.
Examples of captures with the RetroTink 2X Pro on my YouTube channel:
- Commodore Plus/4: https://youtu.be/CVC6QJGB5LI (a demo of my own software, as it happens)
- Atari 2600: https://youtu.be/ue3Dx0h1WG0
- Atari 800XL: https://youtu.be/1F1IKbNp_Jk
The RetroTink 2X Pro cannot connect directly via SCART unless you use an adapter to S-Video or composite. There is also a RetroTink 2X SCART, but that appears to be discontinued.
RetroTink now also has much more expensive models with far more options and connectivity: the 5X Pro and the flagship 4K Pro. Those get very pricey indeed. They are undoubtedly excellent, but I have no personal experience as they are beyond my budget.
Another downside of RetroTink is the lack of EU retailers; shipping from the US quickly becomes very expensive due to import duties. I was lucky enough to find my 2X Pro secondhand on Marktplaats.
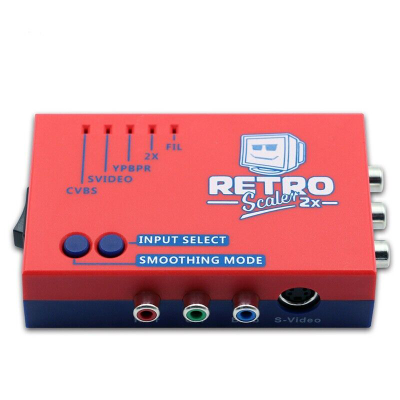
As an alternative to the RetroTink 2X Pro I also see the RetroScaler 2x coming up regularly, though I have no personal experience with it. The main advantage is that it is considerably cheaper.
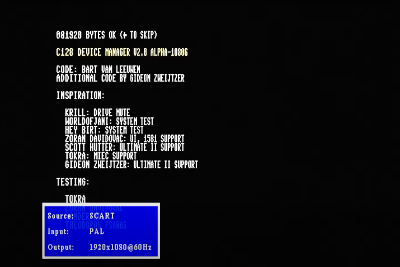
Archimedes: GBS-C
My recent purchase in March 2025 of my first Acorn computer — an Acorn Archimedes A310 — presented a new challenge. I have a SCART cable for it, but both my Framemeister and my Hydra 2 (and my Sony TV) turned out to dislike the signal. That was frustrating.
After some searching online and on various forums, the likely cause turned out to be that the sync signal is carried on the green channel — known as Sync on Green or RGsB. See here for an explanation of the different sync methods: 'RGsB is "Sync on green": In this scenario, the green cable also carries the horizontal and vertical sync signals, totaling only three cables. The only time you'll run into RGsB in the classic gaming world is with the PlayStation 2.' That last part is not quite right: Acorn uses it too, at least on the Archimedes A310.
That explains a lot, because according to my research the Framemeister indeed does not support Sync on Green. What does? The more expensive RetroTinks — the 5X Pro and the 4K Pro — support it. But those are expensive.
I eventually received a tip via the Big Ben Club WhatsApp group (thanks Martijn van der Wel) that the ODV-GBS-C does support Sync on Green. So I ordered one, and great — it works!
Review of the ODV GBS-C (in Portuguese, so run it through Translate)

For me this is now my recommendation for all computers that cannot use an RGBtoHDMI. The ODV GBS-C is very much a Chinese device and is also sold under various other brand names. So if you dislike orange and prefer blue you can buy this one, or any of the many other variants. I obviously only have experience with the ODV version.
It also has all the connections that the Framemeister and the RetroTink 2X Pro have combined.
The manual is rather Chinese in its brevity, but it is followable and everything works great. You can also connect it to your Wi-Fi network, which I have not done since I was testing it with a Chinese device.
Example videos from the Acorn Archimedes:
- MikroReise demo: https://youtu.be/h30dlu94Gc0
- Horizon demo: https://youtu.be/yxn5kMb8ChY
Video Capture
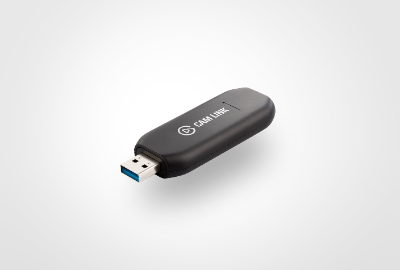
Once your signal is HDMI you still need an HDMI capture device to record it on your PC. There are many options, but I use the Elgato CamLink 4K, which works perfectly for me. All the videos above were recorded via this Elgato.
I actually use two of them so I can take advantage of the Commodore 128's ability to drive two monitors simultaneously — see https://youtu.be/hh7a3T1GvT4
I then record the signal on my PC via USB using the free open-source OBS Studio from Open Broadcast Software.
Untried Alternatives
There are undoubtedly many alternatives I have not tested; this article describes only my personal journey based on my own experience.
The most notable alternatives I am aware of but have never tried:
- OSSC: Open Source Scan Converter. By far the best-known alternative. Reportedly works very well but requires considerable configuration, which makes it very flexible but also quite complex. Also open source. Hardware available from many retailers.
- Lotharek Medusa: Looks very interesting, and while cheaper than the RetroTink 5X Pro with apparently more features, it is still significantly more expensive than the ODV GBS-C.
Conclusion
This article already makes clear that my advice is always provisional until I find something better...
But right now my recommendation would be:
- RGBtoHDMI for the machines it supports
- A GBS-C for everything else
I would love to hear your experiences and recommendations too — feel free to get in touch.
Xander Mol
Utrecht, June 2025
xander@xandermol.com